Saturday, November 27, 2010

Weather - light clouds today, tomorrow, the next day...

Clouds have set in - they're likely to stay a while!  While I can still reach to the back walls (before scenery), I've installed a backdrop of a lightly cloudy sky.  First I attached strips of 1/8" Masonite to the walls:
Then, I glued sheet vinyl flooring (cut to the 24" height while rolled) to the Masonite.  The smooth grey back side of the vinyl is facing out.  Worked this all around the room, propping it up till the glue set.  The vinyl flows nicely around corners, which gives a nice look both in person and in photos, better than the sharp corners of the room walls.

I bought remnants about 12' long;  they are spliced together where necessary, spackled and sanded smooth at the joints.  Since I'm using the back side, I got some funny looks when I went to the flooring store:
(me)  I'd like to buy some vinyl flooring remnants.
(them)  Sure, do you have a style or pattern in mind?
(me)  Doesn't matter.
(them)  (funny looks)
So, around the room it went, I added a frame to the benchwork where the backdrop goes in front of the stationary panel of the sliding door.  Primed, painted blue, then airbrushed the clouds.  This scared me to death, I didn't trust my artistic ability to do the clouds, I didn't want it to look like a 6 year old did it, but I must say I'm happy with the result.  Hard to screw up clouds, I guess.
You may have noticed in the first couple of pics - the hidden staging tracks are now covered.  You can see the LED rope light dangling from the end - this goes all the way back under to the far end, to supply light for a camera that will be looking down under this area.

Next, I'll be working on extending the track's main line around the entire layout.

Friday, October 15, 2010

Electrical wiring of first section

Been a while!  I've mentioned I don't much like soldering, but I should say, I don't like soldering track - it takes a large iron or gun, and a knack I haven't developed. 

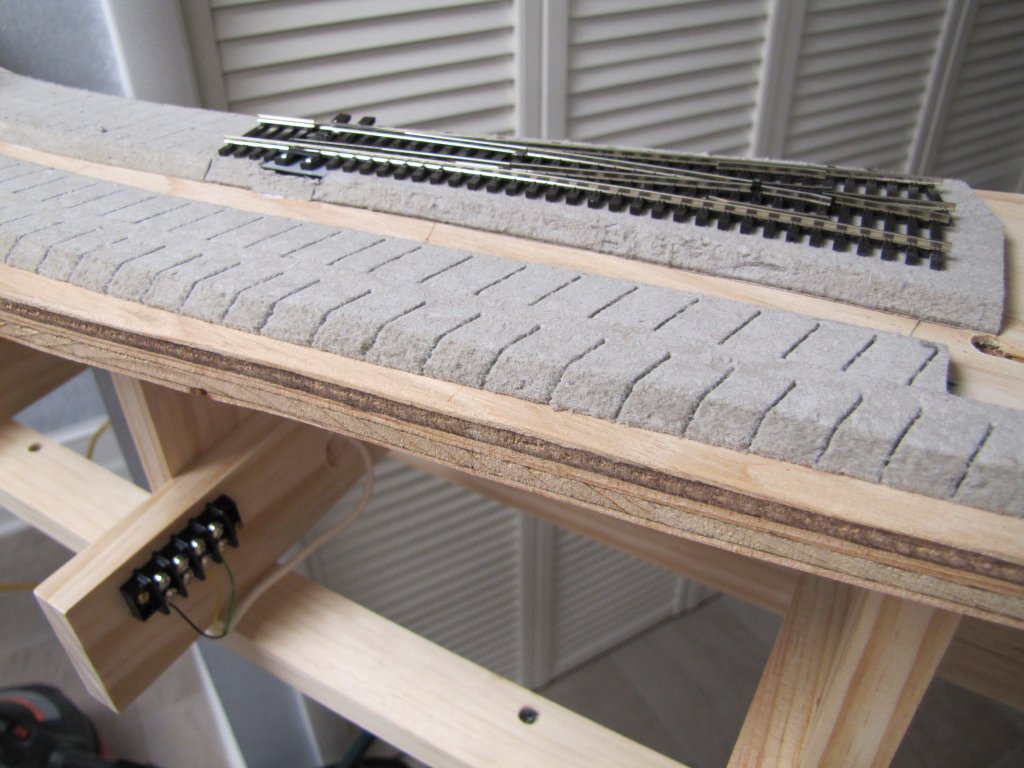
On the other hand, I do enjoy wiring, which includes LOTS of soldering, but light soldering - very different.  Wiring is fun and rewarding, but it goes s-l-o-w-l-y!  Wiring the track power is fairly straightforward - a 14ga bus runs all through the benchwork, and 18ga feeders run down from the track at about 3-foot intervals to the bus.
The wiring above is for the turnouts and sensors of the 4-track hidden staging area.

The turnouts in this area I want to operate together by selecting one of the 4 tracks, or a "route", and have the turnouts align as required for that route.  This simplifies the control, but complicates the wiring a bit, requiring a series of diodes, which you see mounted on the vertical board at the top of the photo.  If you're interested in a further explanation of how this works, CLICK HERE.

The sensors are near the end of each of the hidden tracks.  This is a kit made for this purpose by Green Steam Products in California.  It consists of the sensors, the (2) control circuit boards in the middle of the photo, and LEDs on the control panel.
The control panel above is a temporary stand-in for the real thing, which will be much nicer looking!  While the trains themselves will be controlled by hand-held "throttles", the secondary controls and indicators will be located at various points around the layout on panels like this one.  You can see left to right:  (2) rows of LEDs (red for "stop" and yellow for "almost there"), (4) toggles to turn off power to each track individually (idling sound-equiped locomotives can get pretty noisy in bunches!), a control knob to select the route to one of the (4) tracks, and a momentary contact pushbutton to throw the switches to activate the route.

Just to the upper right of the control knob is a single toggle and pushbutton pair, to control a single turnout in the area, and on the right a hole for a switch to turn on camera power - a camera will display what's going on under here on the TV.

Below is the back side of the control panel.
My friend Don taught me years ago the importance of neat wiring, and I learned a lot from watching him build the flawless electrical systems on our race car, back in our dirt track racing days.  He also supplied me with a seemingly never-ending roll of 4-conductor phone cable way back then, and it's still going strong - I use it for low current draw things like sensors and LEDs.

Saturday, August 28, 2010

First roadbed and track In place

I've chosen a commercial product called Homa-Bed (made from Homasote) for the roadbed.  Where track will not be seen when the scenery is complete, I use Atlas code 100, while exposed track is Peco code 83.  The "code" refers to the rail size, 100 being larger and more forgiving (good for hard-to-reach areas) and 83 being smaller and more to scale.  The Peco brand is also much more realistic looking and of better construction.


Both the roadbed and track are glued in place with adhesive calk.  Canned veggies make great weights!


Hidden turnouts (track switches) will be controlled by switch motors mounted above the plywood, while exposed turnouts have their machines mounted underneath.  Turnouts aren't glued, but spiked down so they could be replaced if they fail.  Here's a pair of turnouts and a switch motor:


The motor is mounted to the underside of the turnout;  a rectangular hole is cut through the Homa-Bed and plywood.  Here's one ready to mount in place:

...and placed:


One of the spikes used to hold the turnouts in place:

I don't like soldering, because I've never mastered it!  Despite this, most rail joints are soldered for strength.  The track is fed from an electrical buss underneath;  feeder wires are soldered to each track section.

The first sign of something "scenic" - the exposed track is airbrushed at this point, to color the crossties a dirty brown, and to lessen the "plastic" look.  This is done now because as the track is "brought into service", it is prepped with a 3 step sanding (600, 1000 & 1200 grit), vacuumed, then burnished with a stainless steel washer, and finally the railhead is polished with Maas Metal Polish.  I'm told that this burnishing and polishing process keeps the track cleaner than the more common "scrub it with an abraisive pad" method - it makes sense to me - no fine scratches for dirt to cling to - time will tell.  Much more detail is yet to come on the track, but this painting needs to be done before sanding and polishing.
Ooohhh, are those trains?!?  Can a video be far behind?

Friday, August 6, 2010

Plywood makes an appearance

Tired of looking at my dimensional pine?  Here's some fir plywood for you!


This is the "subroadbed" for the tracks.  (You can also see 2 of the 3 steel leg sets in these photos.)  I've completed the plywood subroadbed in the isolated area above, which will eventually be a coal mining operation, the narrow section and lower level loop below:

...and a swing gate to connect them:


The lower level will not be seen in the finished model, there will be tracks and scenery above it.  This lower level will serve as "hidden staging" - up to 4 trains will be staged here, ready to be called on to negotiate the hidden loop, cross the swing gate, then climb at a 2% grade (about 1.1 degrees) to the upper, exposed level.  You can see that climb in the 1st photo - actually, the grade starts about 6" into the swing gate.

This alignment of subroadbed is the most critical of the entire railroad;  I decided to get it out of the way first, and it took a lot of time to get it right. But, I'm happy to say, it's right!

Next up will be some roadbed & track on this area - and where there's track, there will be trains!  Gotta test, right?  Also coming soon, beginning the electrical work, and hanging the backdrops on the walls, while I can still reach them.

Sunday, July 11, 2010

Breaking ground on the BASRR

Welcome to the BASRR blog!  Please visit the "ABOUT" page on the right.

Construction has begun - starting with wall brackets:

...then the girders:

...and finally the joists:


The plywood sub-roadbed will come next.  The garage turns into the workshop during construction (thanks to Allen for the loan of the drill press):

I know, doesn't look much like a model railroad yet!  Stay tuned for updates - I plan to do so monthly.